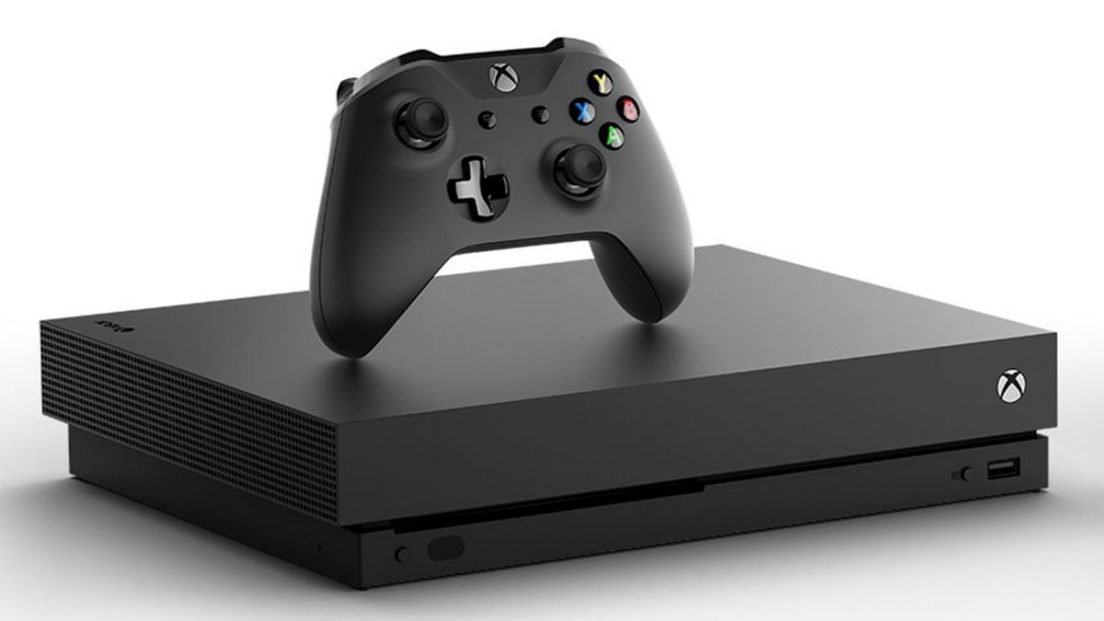
Although the Xbox One includes the finest Network Hardware from the three flagship consoles in the current market, you can make it perform even better by using a great DNS Server.
A DNS or Domain Name System Server helps resolve the IP address to. Your download speeds could increase, reduce ping and latency and produce your overall online experience safer and better.
Before starting use the guide below to find the best DNS Server for your Internet Connection
Now that you’ve found your desired DNS Addresses follow the steps below to change your Xbox One’s DNS Server:
Steps to change to Xbox One’s DNS Server
Step 1. From the Xbox One “Home” screen open the Settings by either using the Home menu or pressing the “Guide” button on your controller and selecting “Settings”.
Step 2. Select “Network”, then “Advanced Settings” and finally “DNS Settings”.
Step 3. Choose to set your DNS Settings “Manually” and enter the Primary and Secondary DNS Addresses.
That’s it, super simple.
Alternative Method
Alternatively you could always set a DNS Address for your Network in your Router or Modem settings. Do this by opening up the Router or Modem’s setting’s page and then entering your desired DNS address in the DNS page.
Also check out our other guides:
- PS4 DNS Change Guide
- Nintendo Switch DNS Change Guide
Did this guide help? Have any questions? Ask away in the comments.


